 |
Candidate & Contact Portals User GuideHow to setup and use the Candidate & Contact Portals
|
 |
 |
 |
 |
IntroductionColleague offers an additional Portal interface which can be embedded within your website or made available as a separate URL. Demo Portal Login Page: https://portal.colleague7.com
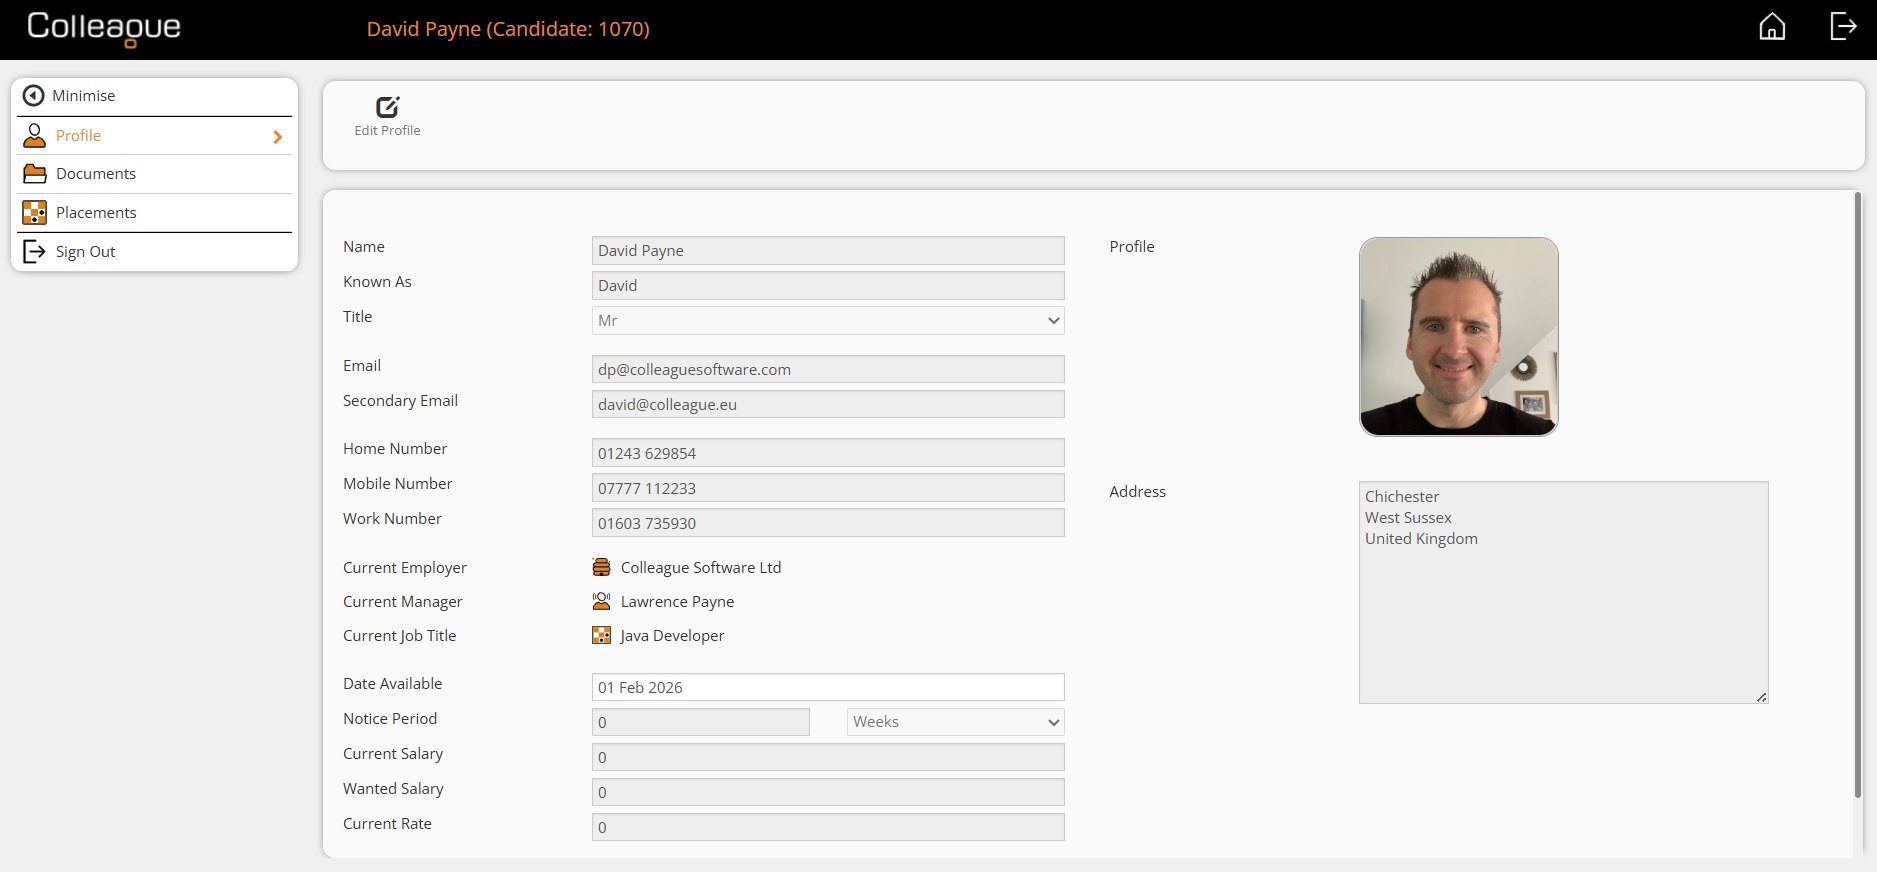
Example Candidate Portal (Profile Page)
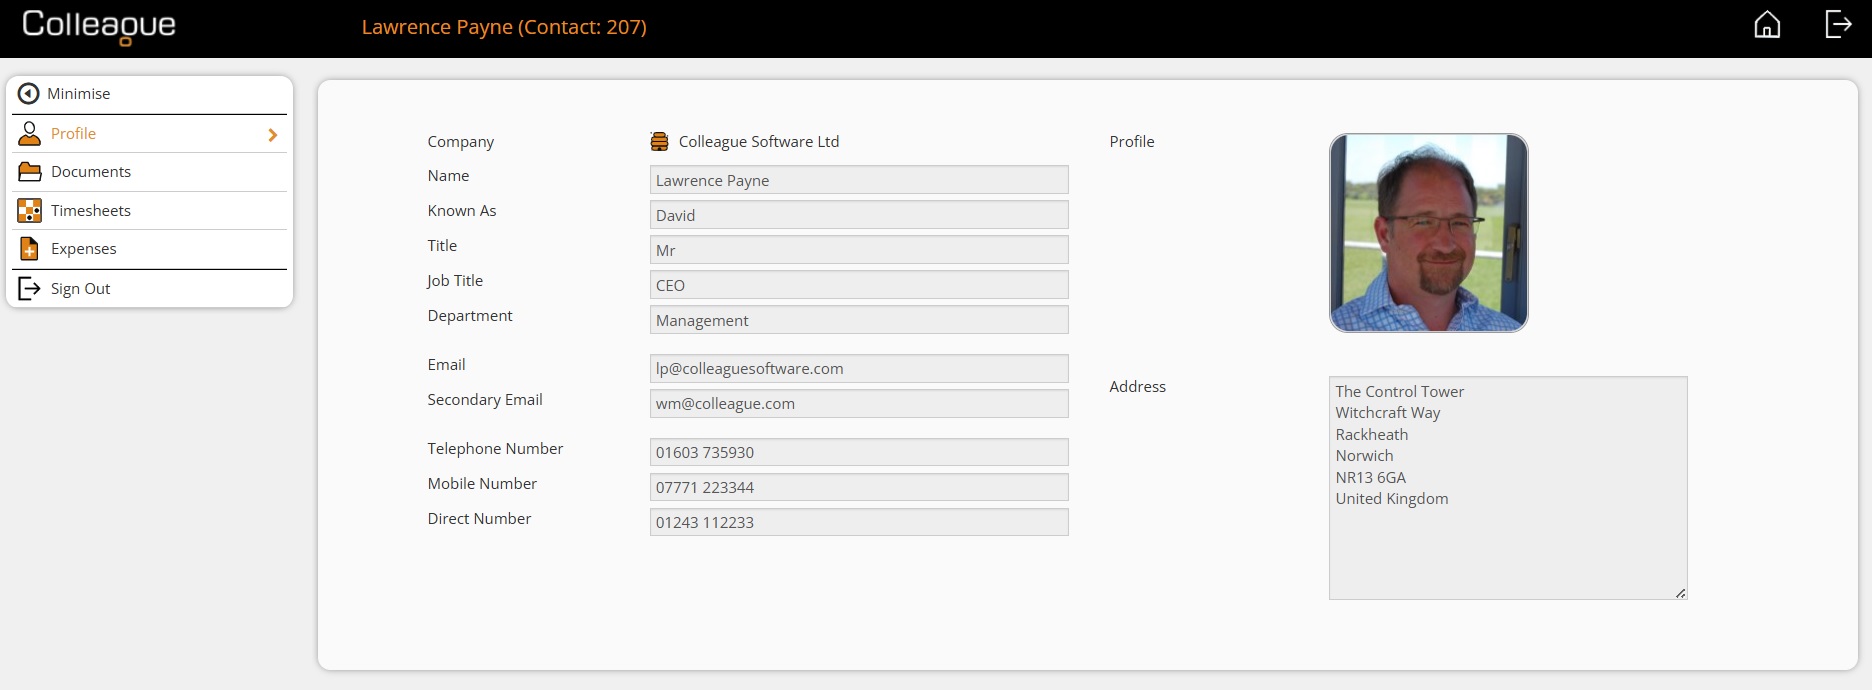
Example Contact Portal (Profile Page)
Setting up the PortalIn the first instance, the Colleague Portal webapp will need to be setup and pointed to your database. To begin this process, please contact the Support Team Email: support@colleaguesoftware.com Telephone: (+44) 01603 735930
User Group PermissionsWithin the Colleague Admin area, under User Group Permissions, the ability to create a 'Candidate Portal User' is enabled from within the 'Candidate' Permission Group:
The permission to create a Contact Portal User is held within the ‘Contact’ Permission Group.
Setting Portal LoginsCandidate/Contact Record Within the Candidate or Contact record, the Portal User can be created via the 'View More' menu > 'Create Portal User' option. The Username of a Portal User can be either their Primary or Secondary Email Address.
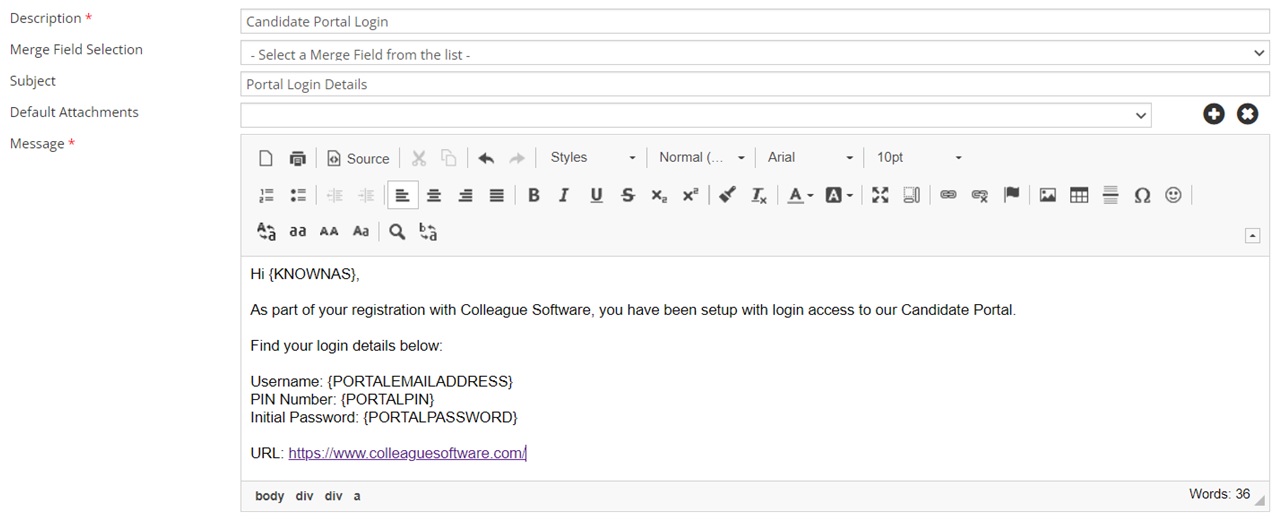
Upon creating a Portal User, you will be advised of the username, unique PIN number and temporary password (for the Candidate's first login). On first login, the Candidate/Contact will be asked to set their own password for future access. Note: The password generation process for the portal user requires both capital and lowercase letters. There are also merge fields available against the record that can be used when sending the portal details to the Candidate/Contact via a default email template:
In the event of needing to reset a Portal User’s Password, an administrator can access all Portal Users from within the Admin area under 'Users'. Above the Users table (top right) you will find an option to include/exclude Portal Users, set to ‘Yes’:
You can use the search to lookup the Portal User. Portal Users are also allocated to the ‘PORTALUSERS’ User Group:
When accessing a User record that is a Portal User, you will notice that is an extra ‘Portal Record Link’ field is shown to advise the record linked with the User:
Resetting a Portal User’s password is the same as resetting a User's password.
A Portal User can also be deactivated and re-activated from within the Candidate record, via the 'View More' menu under 'Portal Details'. This option will only appear if a Portal User has been created against the record.
Candidate PortalLogin Page The Portal Login page is branded, embedded into your website and/or made available via separate URL.
Profile The Candidate’s first login will prompt them set their own password. Upon successful login, the Candidate will access their profile page. This will contain a list of standard fields showing the basic contact information and personal details you hold against the record. The User can set their default landing page in future by selecting the required tab and pressing on the Home icon (top right):
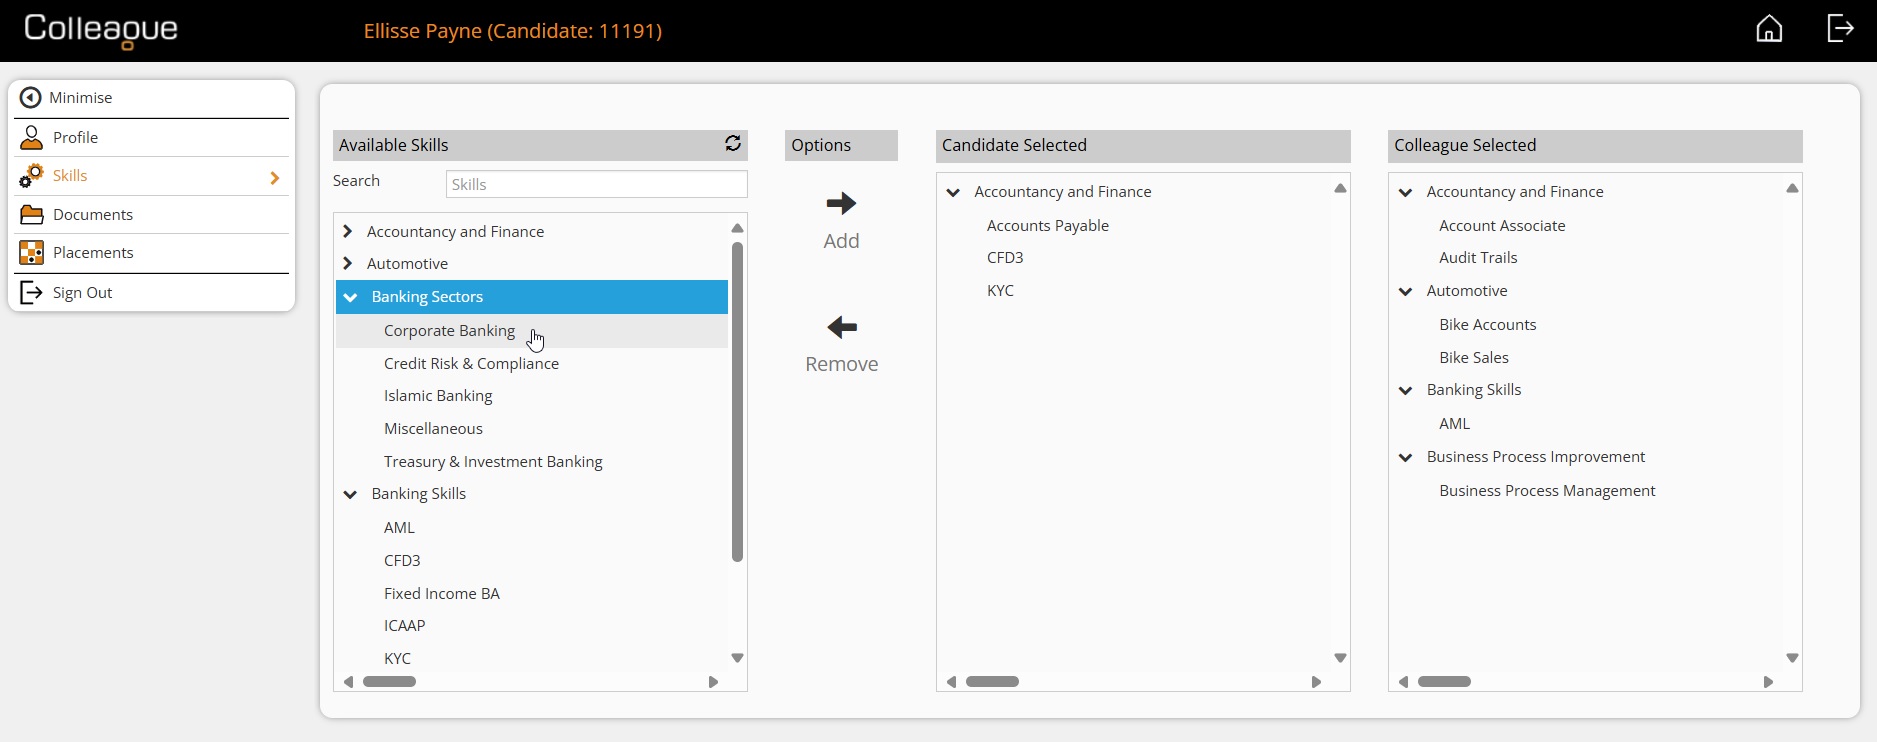
Skills The Candidate Portal also supports whether the Candidate can edit their own skills:
Which Skills the Candidate is able to see on the Portal is set within Admin > Lookups > Skill Categories. Select the Skill Parent and choose Yes or No:
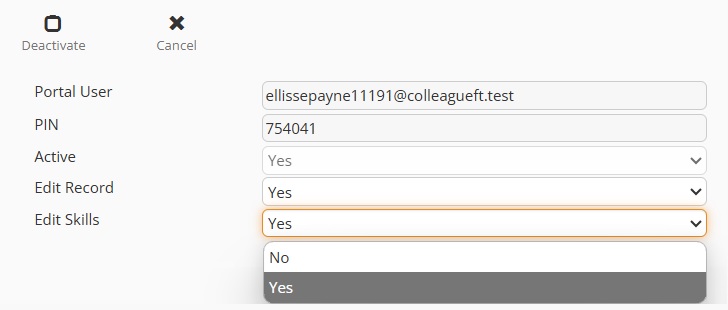
On the Candidate record, under 'View More > Portal Details' a User will be able to set whether the Candidate can add or remove Skills to their record:
There is also a Global Setting, under the Portal section, to default whether the 'Edit Skills' option is set to 'Yes' or 'No' for new Portal Users by default.
Documents Based on a Global Setting, you can configure whether the Candidate can view Documents in the Portal:
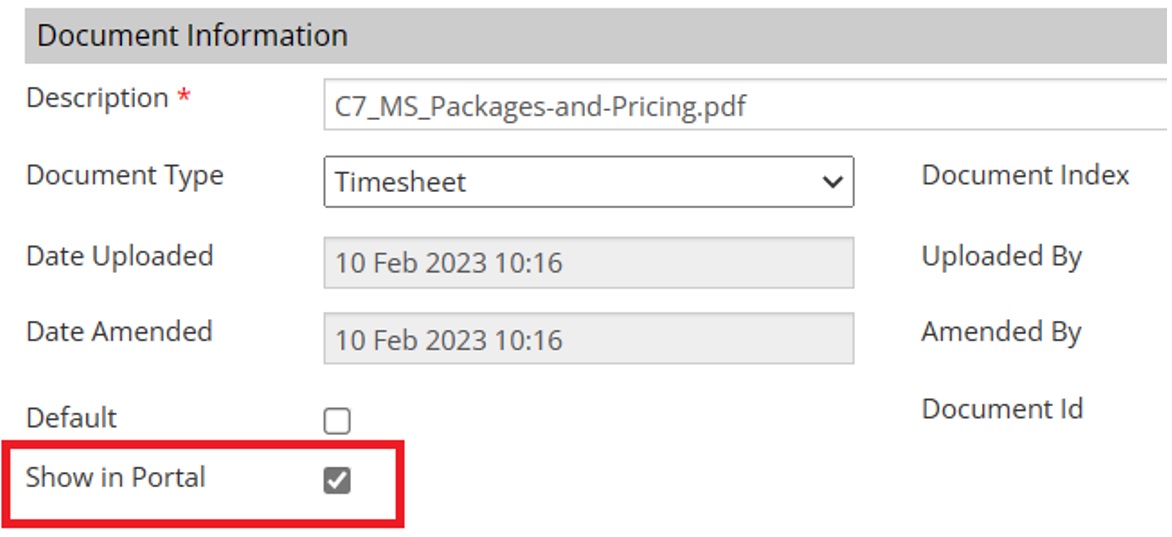
Whether a document can be viewed on the portal is based on a Document setting:
The Candidate can also add Documents via the Portal, which are then uploaded to their Candidate record in Colleague. Access to the ‘Show in Portal’ option on the Documents tab of a record is granted via a User Group Permission: Admin > User Group Permissions > Global > ‘Show Documents In Portal’
When the Portal User uploads a Document to their profile, you will be able to set which email address(es) are notified of the event via a Global Setting. Admin > Global Setting > Portal section:
If you wish to send this notification to multiple email addresses, separate the emails with a comma.
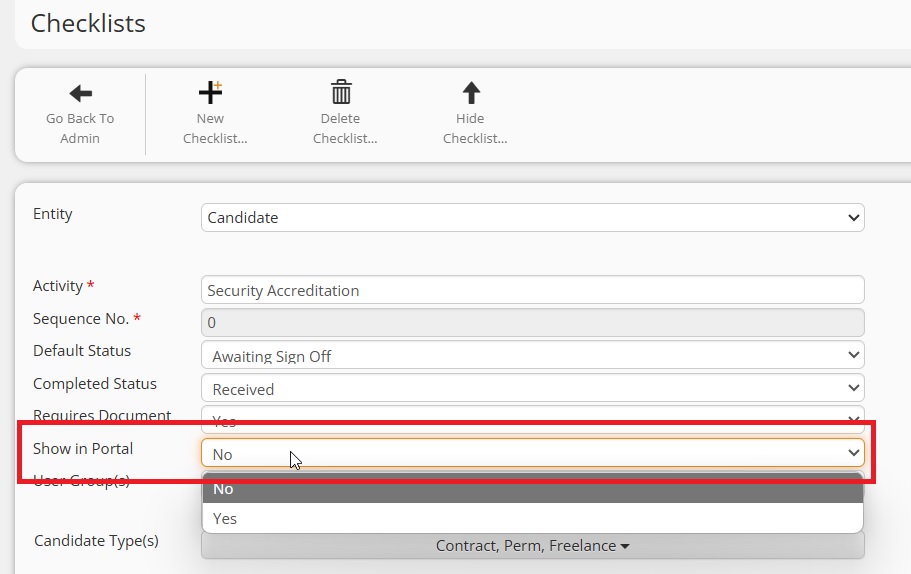
Checklists The Candidate Checklist is configured within the Admin > Checklists area: https://login.colleague7.com/Admin/ChecklistMaintenance Included within these settings, against each checklist item, there is a 'Show in Portal' Yes/No field. Only Checklist items with 'Show in Portal' set to 'Yes' will be visible on the Candidate Portal.
Whether a Candidate has access to the Checklist, will be set against the Candidate's own 'Portal Details'. The default for whether this option is set to 'Yes' or 'No' for new Portal Users will be based on a Global Setting (under the 'Portal' section). When logged in as a Candidate, the Checklist will be available from the left navigation menu. The Candidate's view of the Checklist will be the same as it is for a User in Colleague, with a couple of differences:
The Candidate will then be able to update and complete their outstanding Checklist items. When a checklist item has been completed, an email notification will be sent to the specified email address based on the Global Setting:
Placements A Candidate will have the option to view a summarised overview of their active Contract Placements:
Whether a Placement appears to a Candidate on the Portal, will be dictated by the Placement being active or by the ‘All Timesheets Received’ field on the Timesheets tab:
If set to ‘Yes’ the Candidate will no longer be able to submit any more Timesheets. On the Placement record, from the 'View More' menu, you will find ‘Portal Options’:
These options set:
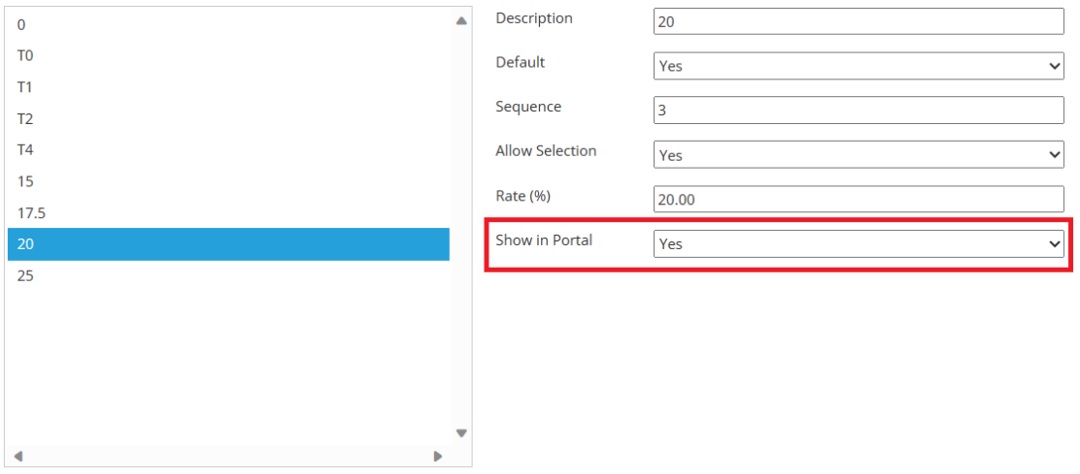
The additional rates that the Candidate will be able use when submitting their Timesheets, will be configured by the ‘Show In Portal’ option against each individual rate:
Timesheet In the Candidate Portal, when a Placement is selected, the Timesheets against that Placement will be listed and the Candidate will have the option to press the plus sign to add a new Timesheet or Expense (this includes the option add any associated document).
The Timesheet that is created will be as per the Timesheet Type on the Placement:
The Timesheet is drawn based on the rates that are set to be shown in the Portal from the Placement. There is a Global Setting which sets whether the Candidate is shown their Pay Rate on the Rate column header whilst submitting their Timesheet. Admin > Global Setting > Portal section:
When submitted, Timesheets will be added against the Placement with the status 'Pending Approval'. A notification email will be sent to the Contact’s email address (and any ‘Approvers’ from the Placement) to advise that there is a Timesheet to approve. An administrator can also configure whether to be ‘CC’d on all notification traffic via a Global Setting: Admin > Global Setting > Portal section:
If you wish to send these notifications to multiple email addresses, separate the emails with a comma. A Portal User will also have the option to edit a Timesheet provided it is still at the status of ‘Pending Approval’:
Once approved, the timesheet is read only:
Expense If the Candidate wishes to submit an Expense, on pressing ‘Add Expense’ they can enter a description, the gross value of the Expense and the VAT Rate:
The VAT Rates which appear on the portal are set via the Tax Codes in Admin. Admin > Lookups > Tax Codes > select Tax Code:
The user can also add documents to the Expense record. These are then accessible in Colleague.
Timesheet Expense Similar to the Expense workflow (above), if the Candidate wishes to submit an expense which is linked with a Timesheet they can do so by clicking the ‘Add Timesheet Expense’ plus sign:
Sign Out When the Candidate is done, they can log out of the session by clicking the ‘Sign Out’ option on the left navigation menu:
Or the Sign Out icon, top right of the portal:
Contact PortalLogin Page The Portal Login page URL for the Contact is the same as it is for the Candidate.
Profile The Contact’s first login will prompt them set their own password. Upon successful login, the Contact will access a profile page. This will contain a list of standard fields showing the basic contact information and personal details you hold against the record. The User can set their default landing page in future by select the required tab and pressing on the Home icon (top right):
Documents All as per the ‘Documents’ section on Candidate Portal (above).
Timesheets From the Timesheets tab, a Contact will have the ability to view all the Timesheets that they are associated with (by either being the main Contact of the related Placement(s) or an ‘Approver’). The Timesheets will be listed in a table and filtered by Status:
The contact will be able to select one or multiple timesheets via the tickbox:
They can then choose whether to Approve, Update Timesheet Status or Reject:
As a Colleague user, the ability to edit the timesheet status or Reject the Timesheet, is also available from the Placement Timesheets tab (once you have selected a Timesheet):
For each timesheet, the Contact will also have the option to click on the below icons:
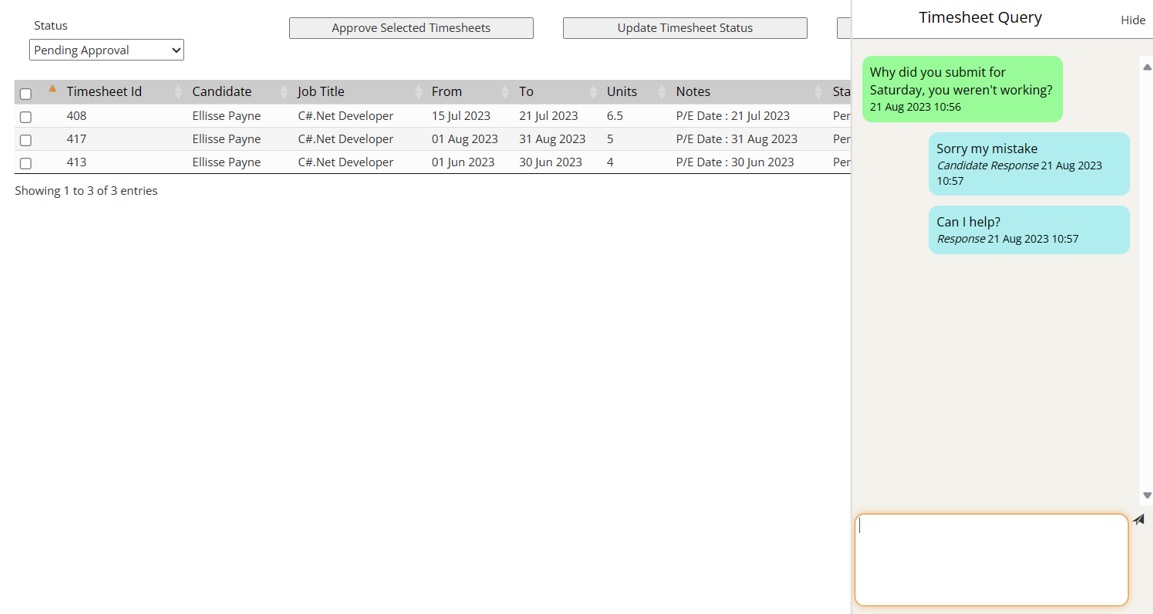
Timesheet Query Should the Contact have query regarding the Timesheet that has been submitted, on the row of the timesheet they will be able to select the ‘Query’ icon:
When selected this will prompt a Timesheet Query chat box to appear, giving the Contact the ability to type in their query, which will notify the Candidate:
The Candidate will then have the ability to login and respond to the query via the same workflow. If there is an outstanding query against a timesheet the icon will be highlighted in orange:
All queries and responses are logged as histories on the Placement record.
A Colleague user will also have access to enter a Timesheet Query, this is sent as a notification to both the Candidate and Contact:
Expenses From the Expenses tab, a Contact will have the ability to view all the Expenses that they are associated with (by either being the main Contact of the related Placement(s) or an ‘Approver’). The Expenses will be listed in a table and filtered by Status:
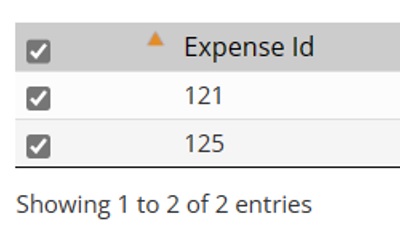
The contact will be able to select one or multiple Expenses via the tickbox:
They can then choose to either Approve or Update Expense Status:
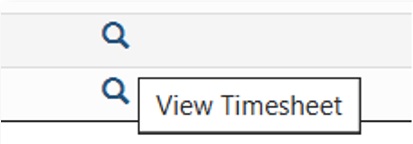
Contacts will be able to view the details of each Expense by clicking on the magnify glass icon, or view associated documents by clicking the paper icon:
When viewing documents, the contact will also have the option to download the document.
Sign Out When the Contact is done, they can log out of the session by clicking the ‘Sign Out’ option on the left navigation menu:
Or the Sign Out icon, top right of the portal:
NotificationsAutomated Emails The following notification emails are triggered automatically by the associated workflow. These can be amended to your requirements:
Timesheet Submitted for Approval (message to Contact) Timesheet Id [TIMESHEET ID] has been submitted for approval. Date/Time: [DATE/TIME TIMESHEET SUBMITTED] Please login to the portal to review/approve the timesheet. Click here if you wish to log into portal
Timesheet Approved (message to Candidate) – Approved by Contact Timesheet Id [TIMESHEET ID] has been approved. Date/Time: [DATE/TIME of APPROVAL] Click here if you wish to log into portal
Timesheet Approved (message to Candidate) – Approved by Colleague User Timesheet Id [TIMESHEET ID] has been approved. Date/Time: [DATE/TIME of APPROVAL] Click here if you wish to log into portal
Query on Timesheet from Contact Side (message to Candidate) You have query regarding Timesheet Id [TIMESHEET ID]. Date/Time: [DATE/TIME of QUERY] Please login to the portal to respond to the query. Click here if you wish to log into portal
Response to Timesheet Query from Candidate Side (message to Contact) You have a response regarding Timesheet Id [TIMESHEET ID]. Date/Time: [DATE/TIME of QUERY] Please login to the portal to reply to the response. Click here if you wish to log into portal
You have a response regarding Timesheet Id [TIMESHEET ID]. Date/Time: [DATE/TIME of QUERY] Please login to the portal to reply to the response. Click here if you wish to log into portal
Timesheet Rejected from Placement By User (message to Candidate) Your Timesheet Id [TIMESHEET ID] has been rejected. Date/Time: [DATE/TIME of QUERY] Please login to the portal if you edit and resubmit your timesheet. Click here if you wish to log into portal
Timesheet Rejected by Contact (message to Candidate) Your Timesheet Id [TIMESHEET ID] has been rejected. Date/Time: [DATE/TIME of QUERY] Please login to the portal if you edit and resubmit your timesheet. Click here if you wish to log into portal
Document Upload Notification (message to specified email account) Document [DOCUMENT NAME] (Id: [DOCUMENT ID]) has been added to Candidate/Contact [RECORD NAME] (ID: [RECORD ID]). Date/Time: [DATE/TIME] Click here to View the Record
Expense Approved (message to Candidate) – Approved by Contact Expense Id [EXPENSE ID] has been approved. Date/Time: [DATE/TIME of APPROVAL] Click here if you wish to log into portal
|
 |
 |
Related Links
|
