
Documents Received User GuideHow to use the Documents Received area in Colleague.
 Documents Received Documents ReceivedThe purpose of the 'Documents Received' area is to enable a User with access to their Outlook inbox, so they can transfer Documents (Attachments) from emails they have received into Colleague. This area will only display emails that have attachments. Select the Documents Received option from the left hand navigation menu: 
The folders that are scanned within your 365 email account will be based on the 'Mailbox(es)' dropdown. By default this will search your primary inbox, but on selection it will list all your subfolders and accessible inboxes from your account. 
The 'Date From' field will set the range (from today's date) back to the specified date and scan your inbox for all the attachments you have received within that period: 
The default range of Documents Received is 7 days, but this is a configurable setting within User Settings: 
The User can also choose whether to mark an email as 'Completed' and specify whether to include 'Completed' items within the email table:  
When selecting an email, you will be provided with a preview of the email body. Above the selected email, the toolbar will be updated to include the following options:
The option to "Hide Email" will minimise the preview and this will switch to become "Show Email" on selection. 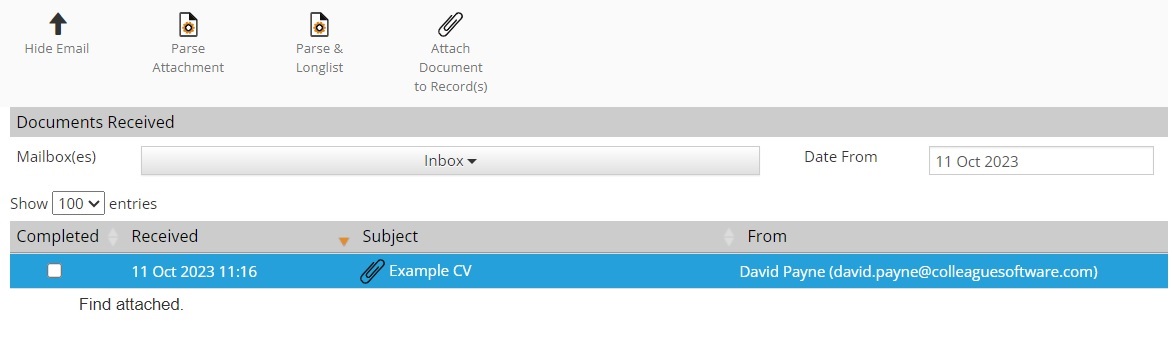
Select "Parse Attachment" if you would like to create a Candidate record based on the contents of the document (i.e. CV). If there are more than one attachments linked to the email, you will be given a dropdown list to select the required file: 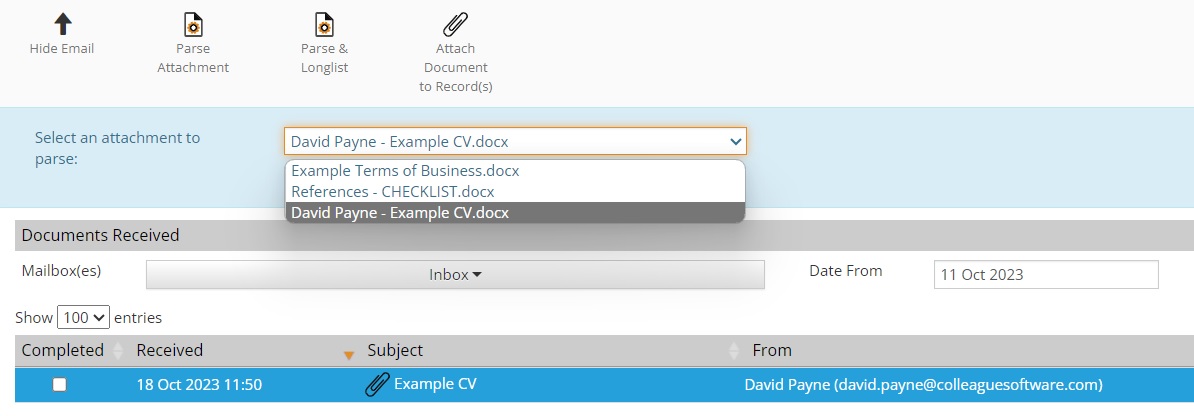
When you have selected the file, click "OK" and the parsing process will begin. For a detailed overview on the parsing process: Click here to access the CV Parser User Guide. The purpose of the "Parse and Longlist" feature is to create a new Candidate and Longlist them to a Requirement in one workflow. This is the same as the "Parse Attachment" process, however a key difference will be that when selected it will bring up a Requirement lookup first. By default, the Requirement Lookup will list all Live Requirements owned by the User in descending order of their Requirement ID. 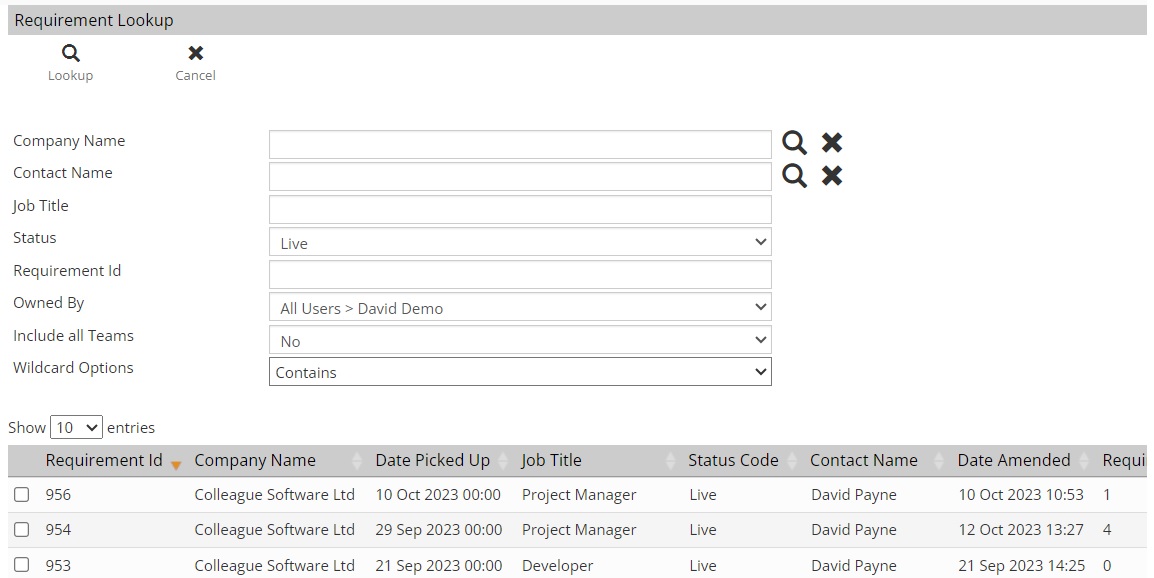
Choose the Requirement applicable to the Candidate and press 'Select': 
The parsing process will then begin. At the end of the parsing process, when the Candidate has been created, an alert will also appear confirming that the Candidate has been Longlisted to the specified Requirement. For a detailed overview on the parsing process: Click here to access the CV Parser User Guide. To attach a file to a record from Documents Received, a User must first select the email with the attachment and then choose "Attach Document to Record(s)". 
The 'Search for records' section will automatically search for records on the system which reference the email address of the sender from the associated email. There is also a Quick Search and filtering options based on the sender Email Address, Entity type and Current/Future Placements. Search for the applicable record(s) and select via tickbox or selecting the row of the table. The 'Available Attachments' area will list the attachments of the email. By default, this will select the first attachment, but there is a Global Setting which defaults the behaviour of this area to select all documents if appropriate: 
The 'Selected Attachment' area will give you the option to adjust the Document Description (this is the document filename by default), the Document Type (set by the default settings), Document Index (set by default settings) and whether the document should be the new 'Default' document of the record. When ready press "Save Attachments".   Related User Guides Related User Guides |