
Form Builder User GuideHow to use the Form Builder in Colleague to build custom tabs on entity records.
 Form Builder Form BuilderColleague offers a custom Form Builder for creating additional tabs on the Candidate, Company & Contact record. These custom tabs are assigned against User Groups, enabling the option for different Users in different User Groups to view alternative fields when accessing a record. A custom form can be used to store and provide additional information to the standard record profile page, or used to replace the page for a more customised user experience.  Admin AdminCustom Forms are enabled within the Admin area under User Group Permissions. Under the 'Admin' permission folder you will find the option to 'Edit Custom Forms'. Ensure this permission is set to 'Full Access'. Once enabled, within the Admin area, the Form Builder option will be present on the 'System' row.  Using the Form Builder Using the Form BuilderWhen accessing the Form Builder, it will load any existing Custom Forms against the Candidate entity assigned to your User Group. 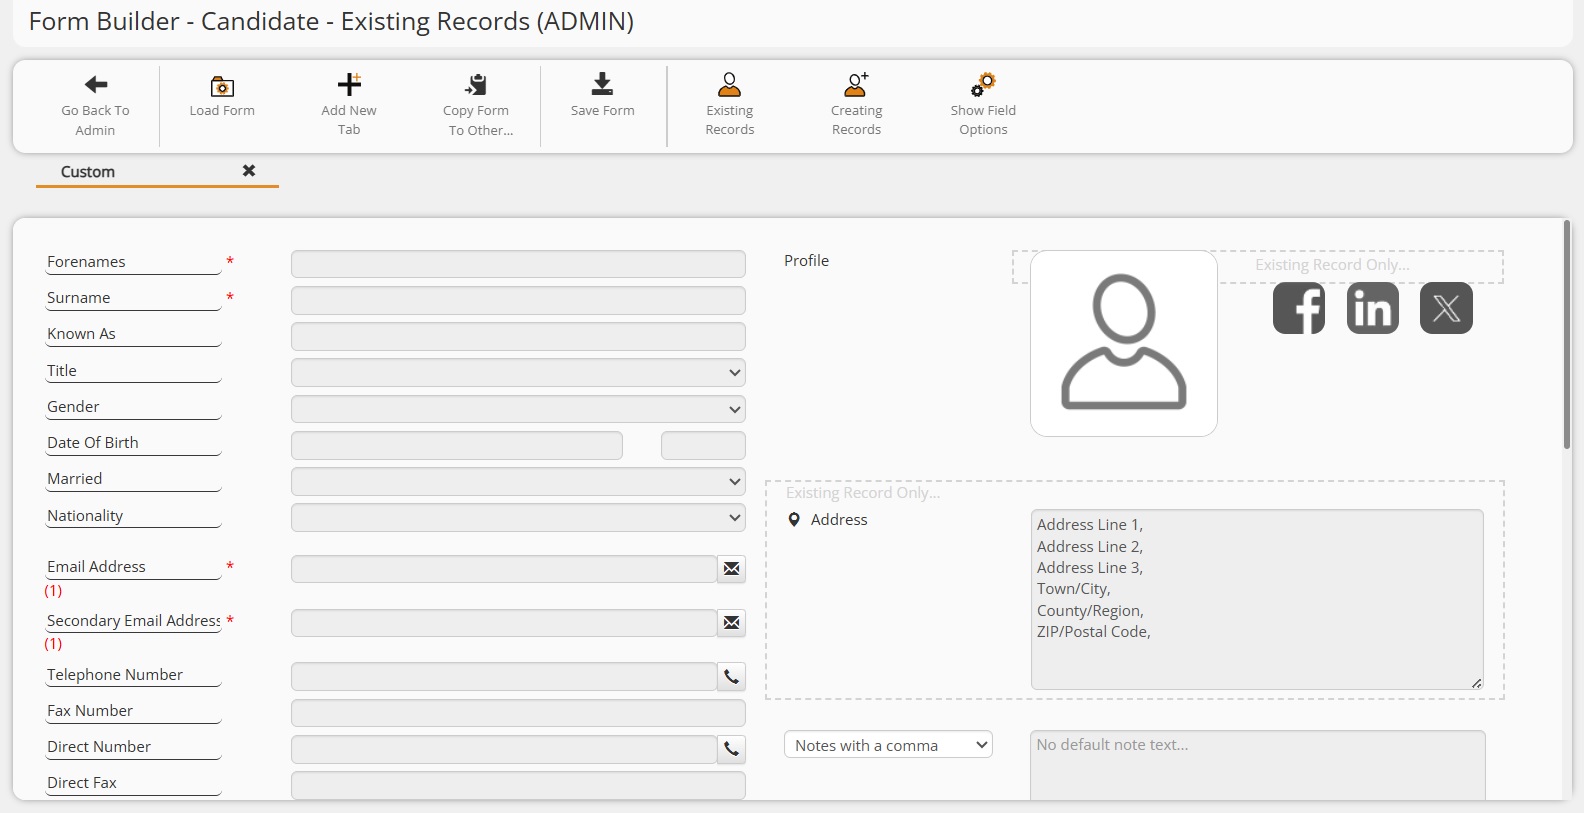
To load an alternative Custom Form, click on 'Load Form' in the toolbar: 
Select the User Group and Entity Type and press 'OK' to load the form. 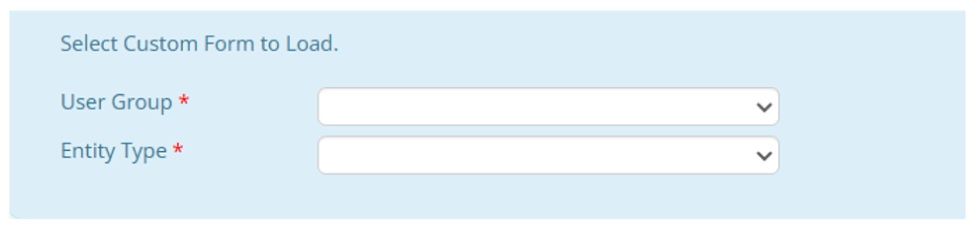
A custom form can consist of multiple tabs. To add a new tab to a form, click 'Add New Tab'. You will need to enter the tab name, the number of columns on the tab (max three) and advise whether you would like the columns to vertically scroll independently of one another. 
Please note: The column and scroll settings cannot be changed once the tab has been created. If you wish to change these settings you will need to create a new tab and delete the previous one. To edit the tab label name, click on the Label text and type: 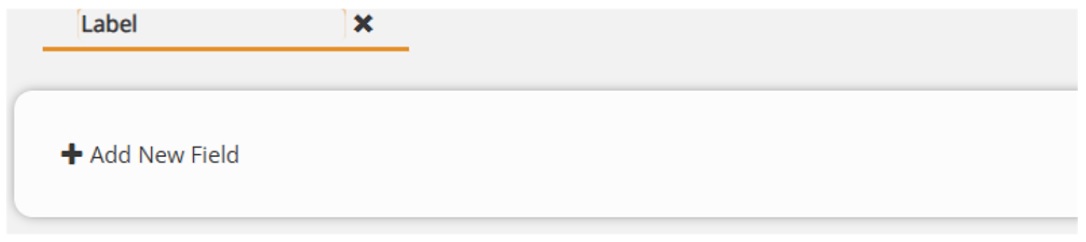
To delete the tab, click on the cross icon alongside the tab label. To add fields to the tab, click on the 'Add New Field' option: 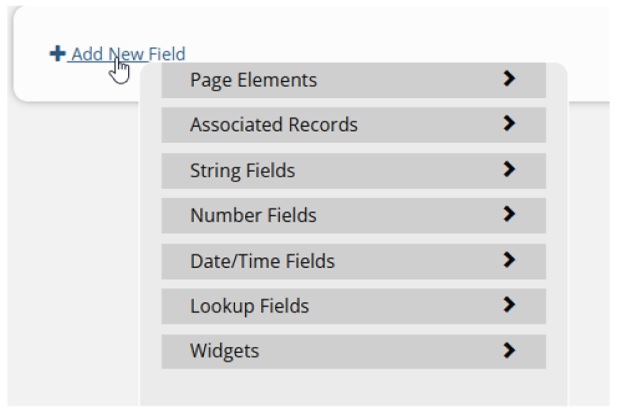
There are multiple options to choose from when adding a new field: Page Elements
Associated Records This will list the fields available on the record entity that are linked to another record.
String Fields
Number Fields
Date/Time Fields
Lookup Fields
Widgets Colleague has developed several widgets which mimic existing functionality from the standard profile tab and/or offer some extra options. These include:
Once an element/field/widget has been selected, it will appear on the tab. When you have multiple fields/elements on the tab, you will be able to drag and drop to move the fields around the page. To delete a field or element, select and press on the 'Delete Field' option in the toolbar. 
To save the form click 'Save Form'. This will need to be pressed when making any updates. 
If you wish to view the fields that are set to appear when accessing an existing record, click on the 'Existing Records' option in the toolbar. 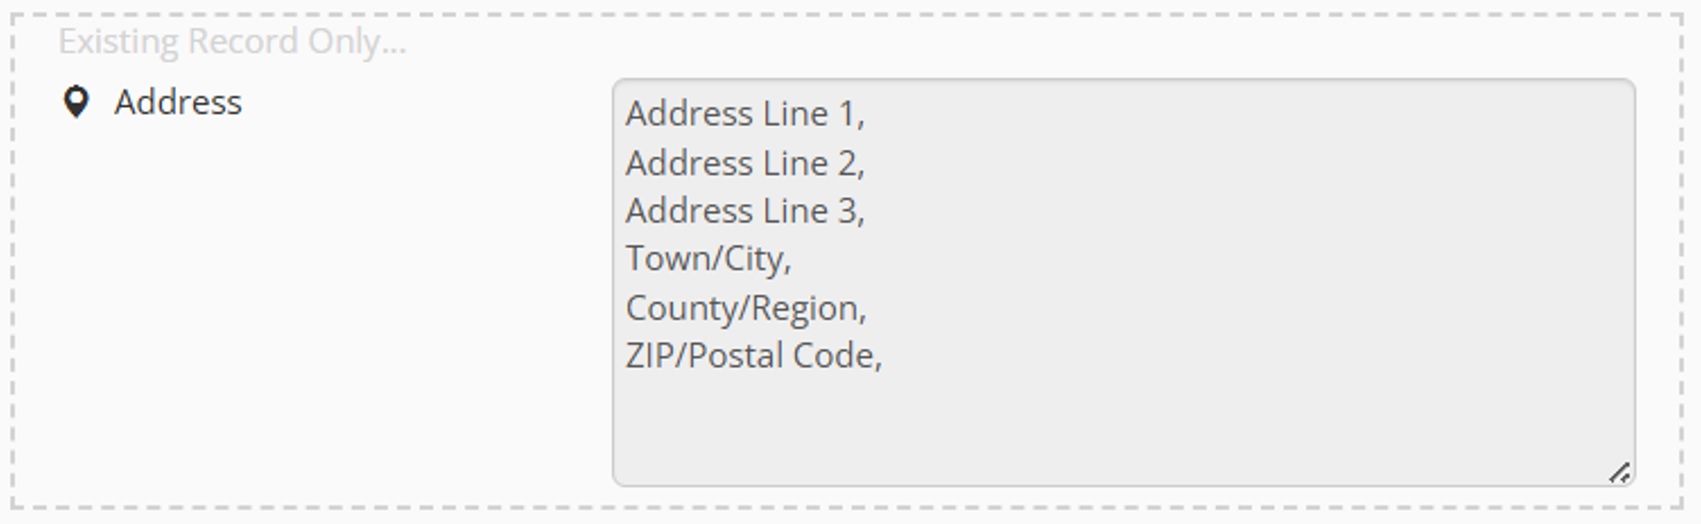
If you wish to view the fields that are set to appear when creating a new record, click on the 'Creating Records' option in the toolbar. 
Multiple elements and widgets will have settings that are relevant to them. Click on the 'Show Field Options' button in the toolbar to see these options. 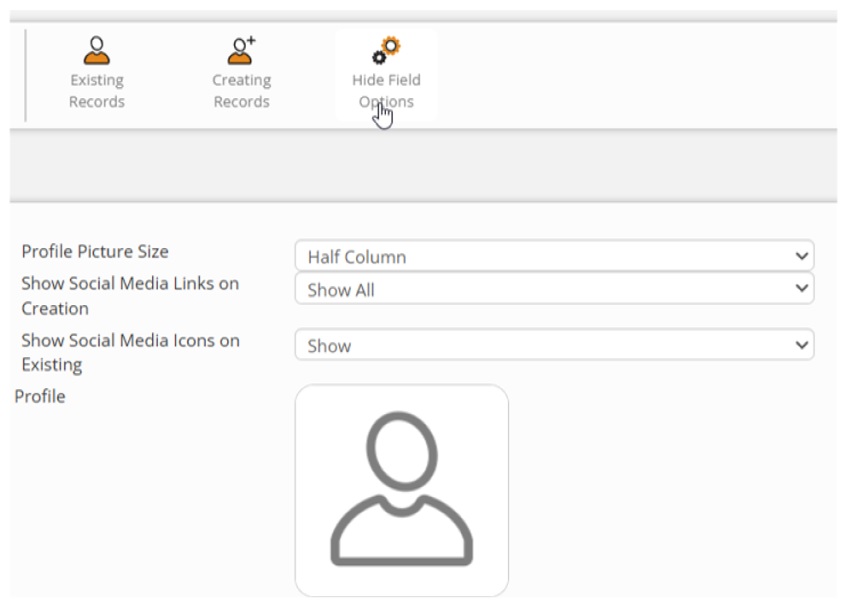
When you have created the form and you wish to copy it to another User Group, click on the 'Copy Form To Other User Group(s)' option in the toolbar: 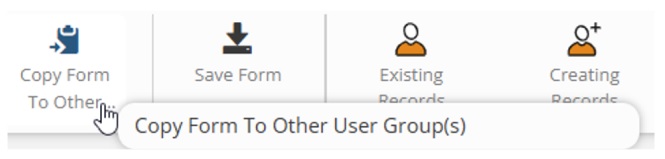
Select one (or more) User Groups and click 'Copy':  User Group Permissions User Group PermissionsIf you wish to hide the standard landing tabs on the Candidate, Company and Contact record (and/or the Custom Fields tab on the record), within User Group Permissions, under the relevant permission folder (Candidate, Company or Contact), set the below permissions to 'No Access':
These settings will be ignored if there are any mandatory fields missing from your custom form. 
For more information regarding the Form Builder, please contact the Support Team. Email: support@colleaguesoftware.com Telephone: (+44) 01603 735930 |