
Email User GuideHow to use the Email form in Colleague.

Colleague is fully integrated with your Microsoft 365 Email account. Emails that are sent and/or received via Outlook on your desktop or mobile device will be logged in Colleague against any record which uses the associated email address. This occurs whether you are logged in to Colleague or not.  Sending Emails Sending EmailsWhen in Colleague, you can send an email from any record using our built in email interface. This will send the email using your Microsoft 365 email address. You will be able to view the emails that you have sent from Colleague within your 'Sent Items' in Outlook. When on any record, the option to send an Email is available via the toolbar: 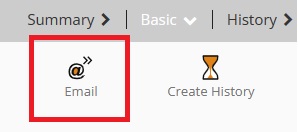
The email form can also be triggered via the buttons that are present to the right hand side of all Email fields: 
When selected, the Email form will appear: 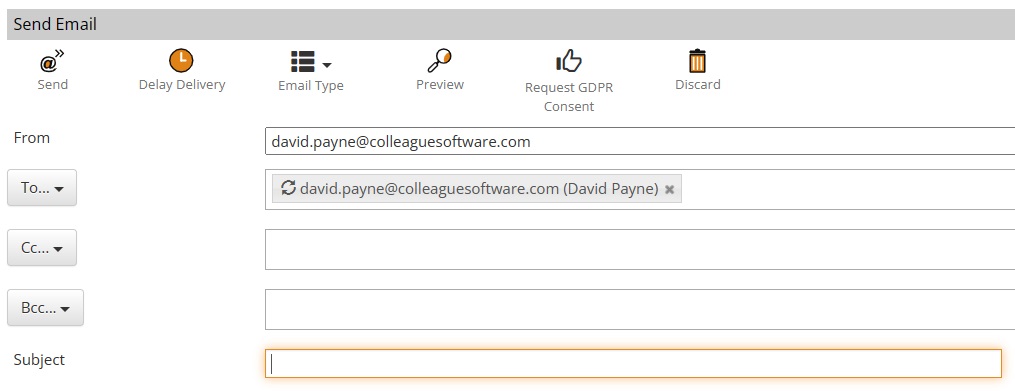
The 'From' dropdown will appear depending on whether your User has access to send on behalf of other email addresses. This is configured within 'User Group Permissions' (in the Admin area) under the permission setting: 'Send As Other Email Addresses'. By default, the 'Primary Email Address' of the record will be brought through into the 'To' field. You can switch this to be the 'Secondary Email Address' by using the 'Switch' icon to the left of the email address: 
You can also lookup email addresses via the 'To' box dropdown: 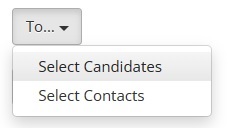
Select the Record Type you wish to lookup (Candidate or Contact) and then using the Record Lookup, find the Candidate/Contact you wish to include in the To field. You can type an email address manually or paste an email into the To field. You can also paste multiple email addresses into the 'To' field (similar to Outlook), provided they are separated by a semi colon ';' - for example ('[email protected]; [email protected]; [email protected]'). NOTE: All email addresses in the To field will be separated when the email is sent. Each email address will receive the email as if it had only been addressed to them. The 'Cc' and 'Bcc' fields will behave in the same manner as they do in Outlook. Email addresses entered into the 'Cc' fields will be copied into all the emails that are sent and will be visible to the recipients. Email addresses entered into the 'Bcc' fields will receive copies of all the emails that are sent but will not be visible to the recipients. Entering email addresses into the 'Cc' & 'Bcc' fields will work in the same manner as the 'To' field. When the email form loads, the cursor will land in the 'Subject' field so that you can begin typing. If you do not enter a Subject the email form will warn you of this when you click 'Send'. The subject can be auto-populated with a default subject (based on a Global Setting) and can also be populated by an Email Template. 
Colleague supports an additional option which allows a user to create a follow up reminder to the email. This can be in the form of a Calendar event or a Task. When the email is sent, this will create a Calendar event or Task in the future (based on the number of days specified). The created Calendar Event or Task will contain a copy of the email within its message body. 
The 'History Type' represents the category of the history log that will be created against the Candidate/Contact to record that an email was sent. By default the 'History Type' will be set to 'Email Sent' as this is the standard category of an email log. However, if you wish to use other custom email history types (i.e. 'Newsletter' or 'Campaign') you would select that history type from the dropdown. 
A 'Merge Field' enables the field data from a record to be pulled automatically into an email message as the email is being sent. A common example of a merge field is the 'Known As' field, often used as the opening of an email to personalise the message for the recipient. For example: "Hi {KNOWNAS},"
The 'Merge Field Selection' dropdown will give you access to the fields that are available from the record where you are sending the email from (known as the 'Scope'). 
Users can see the data that will be pulled into the email with the use of the 'Preview' button. 
Template Selection will allow you to choose the available email templates that have been setup on your system. Email Templates are created within the Admin area. For more details on how to create an Email Template, please watch the following video: Email Templates. 
Utilising the same functionality that is available from Outlook, Users can choose whether to request a 'Read Receipt' and/or a 'Delivery Receipt' when sending an email. 
These can be set by default using Global Settings in Admin: 
When sending a 'Campaign' both receipts will be set to 'Yes'. You have several options with regards to adding attachments to an Email. 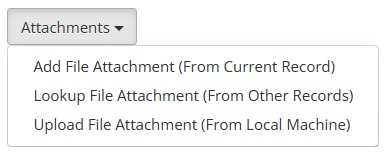
The "Delay Delivery" feature can be found on the email form toolbar and gives you the option to schedule when the email will be sent. When pressed, you will be asked to enter a 'Send Date' & 'Send Time'. When ready, click the "Send" tick. 
The "Email Type" dropdown allows you to select which format of email is to be used, whether that be an Email Message, Meeting Request or Teams Meeting. 
The Email type will be set to 'Email' by default. If set to Meeting Request or Teams Meeting, additional fields will be added to the email form relevant to the chosen type.
For Meeting Requests, the additional field of 'Location' is also included. Meeting invites are sent using the same features of Outlook. A Teams Meeting can be arranged by a User for multiple attendees without needing to attend the event (i.e. an Online Interview). The GDPR Consent feature is designed to seek consent from a Candidate or Contact so that you may hold their data on your system. The feature generates a default message (as configured within GDPR in the Admin area) and gives the recipient a 'Yes' or 'No' link to click and confirm or deny their consent. This will update their associated record automatically. Provided the GDPR Consent feature has been enabled (Global Settings - Candidate/Contact Section - 'Enable GDPR - Right to Consent feature?' Yes/No), if you are sending an email from a Candidate or Contact, you will have the option to 'Request GDPR Consent'. 
This pastes the consent message into the email body. Example GDPR consent message: "We would like to confirm if we have consent to hold your data: Yes | No" If you are sending an email from a Search Result or List you can choose to monitor the recipient activity via a section called Campaigns. When sending a bulk email, you will notice an option to either 'Create Campaign' or 'Associate Current Campaign'. 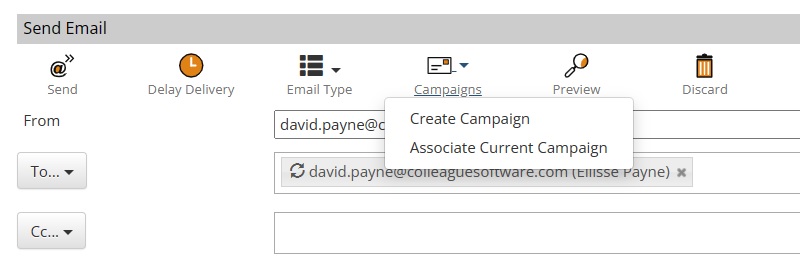
When creating a new Campaign, you will be able to enter a name and assign an expiry date to the tracking of stats associated to the Campaign (you can leave this field blank if you wish). Once the email is sent, within the Campaigns area you will be able to see which emails were delivered, read and the recipients who replied. 
On selection of a Campaign, it will load the Campaign Details into a table: 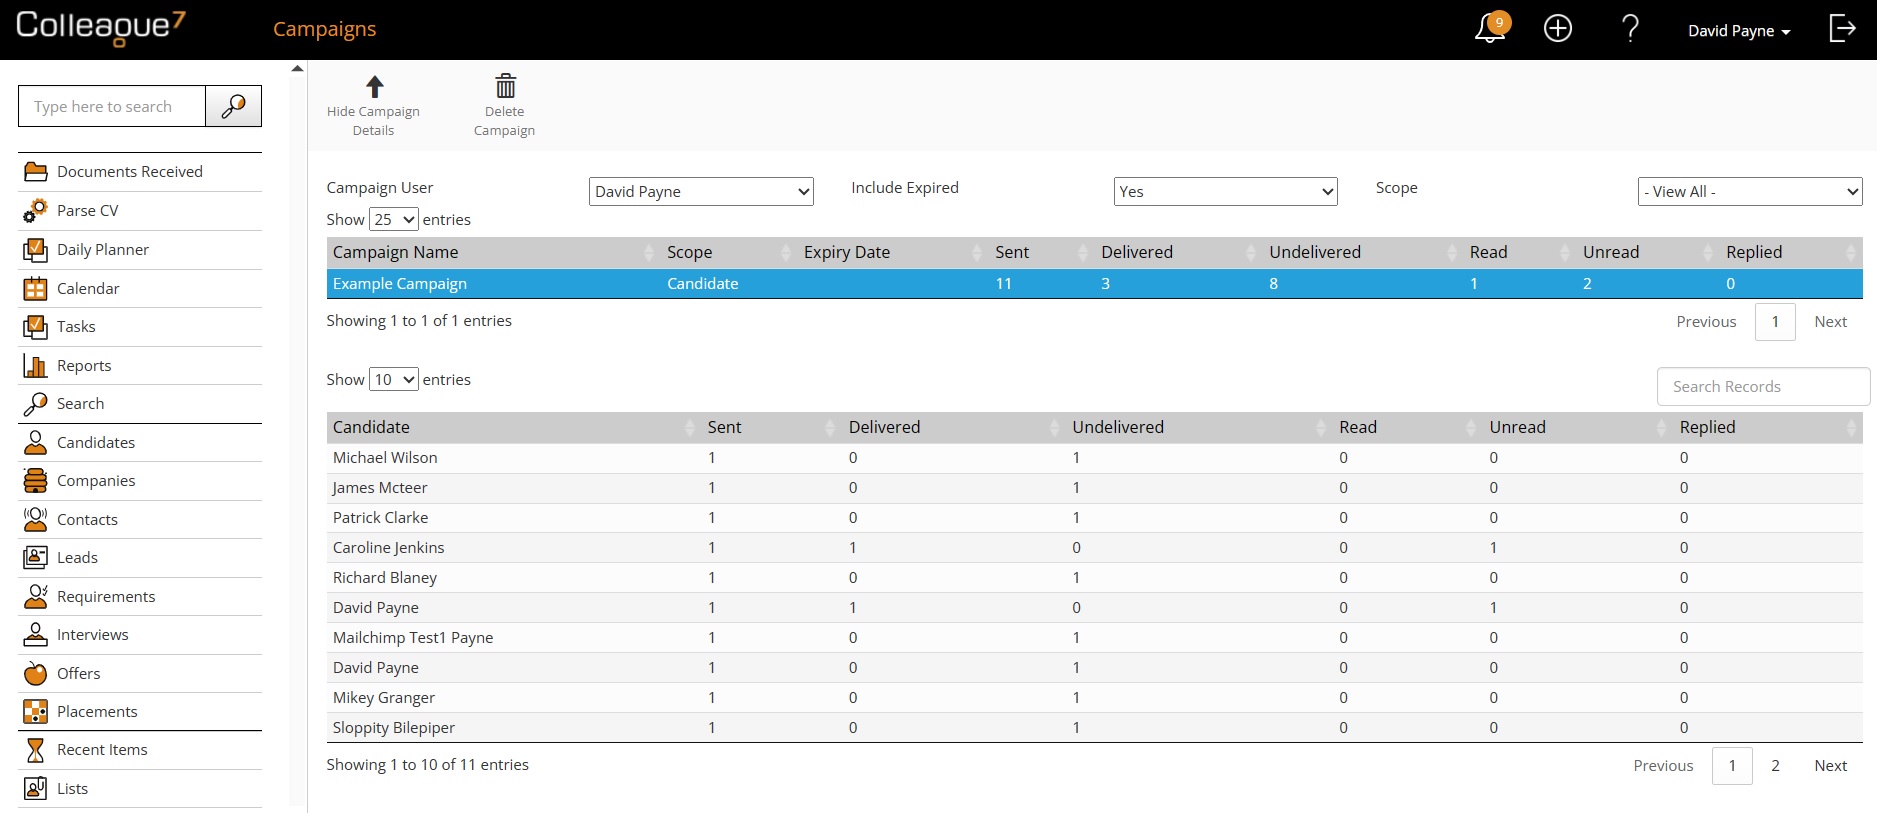
On selection of a record, it will load the histories linked with the Campaign. These histories will be mapped to the Campaign via the 'Linked Records' table. 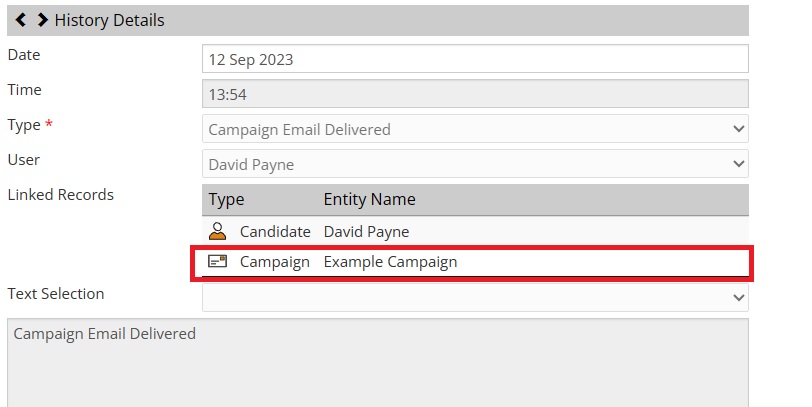
An accompanying video has been recorded to run through the use of this feature. If you no longer wish to send the email you can select "Discard". This will clear the contents and close the email form. This will send the email. If a single email address is in the 'To' field, the email will be sent immediately. If more than one email address is in the 'To' field, the emails will be processed via the background service over the course of the next few minutes. There is a Send and Discard option at both the top and bottom of the email form.  Related Videos Related Videos |